An 8-Step Guide to Detecting Roof Leaks
As a homeowner, the last thing you want to deal with is a roof leak. No one enjoys looking up and seeing a slow drip or brown water stain spreading across their ceiling. While the signs of a roof leak might be obvious, finding the leak source is challenging, even for seasoned professionals.
Getting to the source of your roof leak is essential. It helps you inform your roof repair service about the damage and lets you know you’ve got a roof problem that needs addressing. Left alone, leaks will begin to rot and mold. The affected areas will weaken, and you’ll have an expensive repair job on your hands. Get any roof leaks repaired as quickly as possible to minimize damage and costs.
Learn more about finding roof leaks and preventing roof water damage so you can save money and maintain your peace of mind.
1. Check for Leak Signs
Finding roof leaks is tricky if you don’t know what you’re looking for. Catching the signs early will help prevent extensive damage and expensive repair costs. After any bad storm, you’ll want to review your storm damage checklist to ensure there’s nothing wrong with your roof.
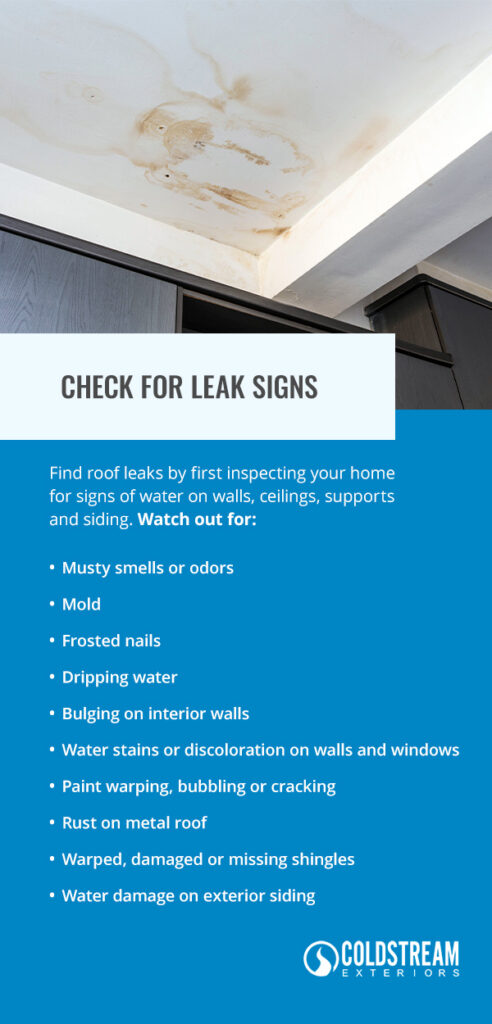
Find roof leaks by first inspecting your home for signs of water on walls, ceilings, supports and siding. Watch out for:
- Musty smells or odors
- Mold
- Frosted nails
- Dripping water
- Bulging on interior walls
- Water stains or discoloration on walls and windows
- Paint warping, bubbling or cracking
- Rust on metal roof
- Warped, damaged or missing shingles
- Water damage on exterior siding
Dripping water will be the most obvious sign of a leak, but mold and water stains will also clearly indicate you have a water-intrusion issue. As you inspect your home and roof for leaks, keep the above signs in mind — they’ll help you know you have a leak and might lead you to the source of the problem.
2. Inspect Your Attic
Carefully explore your attic to find the leak. You’ll have to watch out for insulation, weak spots and even your heating, ventilation and air conditioning (HVAC) unit while up there. As you scope out the attic, you’ll want to look for beams of light — these could indicate you have a hole in the roof that’s letting water in. Touch any wood beams to see if they’re moist. Also, look for mold or small drips and try to find out which direction the water is coming from.
Finally, use a flashlight to examine every inch of the rafters and roof sheathing, as water might hide from your view. Check spots in the attic and upper floors for a leak where the roof meets the wall, too. If you have a roof leak, there’s probably some evidence of moisture in your attic.
3. Look for an Interior Leak
While your roof might be the cause of the leak, it could also be coming from something else in your home. You should rule out every other possibility before calling in a roof repair company so you don’t have to call in another specialist for the actual problem. Our homes are full of components that generate or move water, making it likely you’re seeing water damage from something inside the house rather than your actual roof.
Inspect your HVAC, pipes, water heater, tubs and sinks for signs of moisture. Go over the nooks and crannies of rooms that see water exposure, like bathrooms, kitchens and laundry rooms. An upstairs water heater or HVAC unit leak might get mistaken for a roof leak at first, so scrutinize everything. Once you’ve ruled out every other potential leak source, you can begin closely examining your roof to find the source of the leak.
4. Sweep Your Roof’s Exterior
If you can do so safely, get up onto your roof and check for signs of roof damage that could be causing the leak. This is also how you find a leak in your roof with no attic. Scan for loose, damaged or missing shingles and nails. Keep an eye out for any cracks or staining, as these could be signs of water making its way inside. Inspect areas that collect debris like gutters — debris can trap moisture, allowing it to pool on the roof.
Check out the structures and dips in your roof, as well. Look around any skylights, seams, vents and chimneys for signs of water intrusion. These are spots where weak points can form, making your roof vulnerable to water collection and damage. If you don’t feel comfortable navigating your roof exterior, call a professional for a roof inspection. They’ll go over the roof for you, finding any issues while you stay safe on the ground.
5. Hose Down Your Roof
If you’ve done all this inspection and still can’t pinpoint where the leak is coming from, get another person to help you and climb onto your roof with a hose. Have your helper stand inside where you think the leak might be coming from. Then, run water over your roof. The water should roll down the roof and begin to drip through the leak spot. The person standing inside can follow the continuous stream until they reach the source.
Spend a few minutes on each roof section to ensure you’re giving the water enough time to flow through the leak. Have your helper call out to you once they spot the leak, and then cut the water. You want to reduce the moisture in the leak spot as soon as possible to lower repair costs.
6. Use Infrared Technology
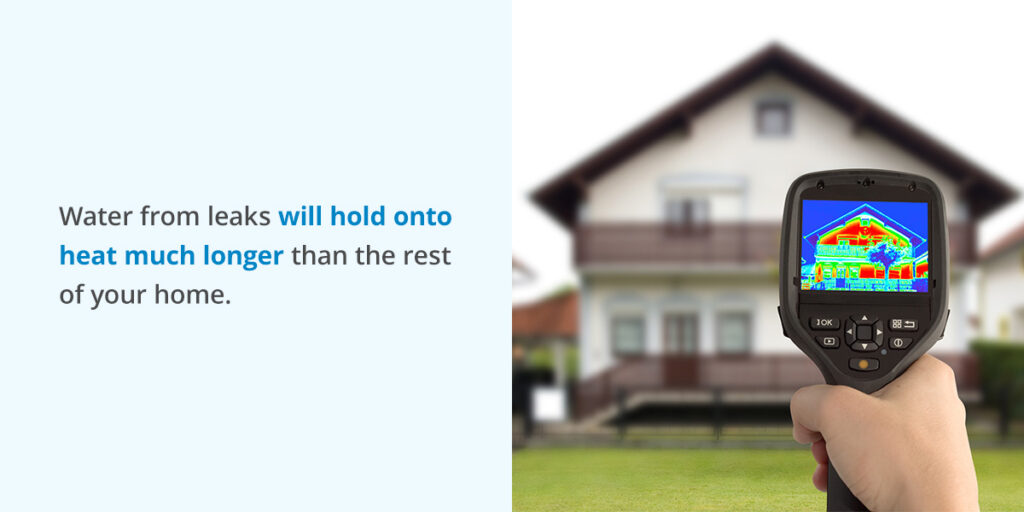
This is a professional method to locate your leak. If all other attempts have failed, you can find roof leaks with infrared technology. Get a professional to conduct an infrared inspection — infrared scanners are often expensive, and there’s no reason to own one unless you get frequent roof leaks.
Infrared roof inspections are usually done at dusk or dawn. As the sun sets, your home’s building materials begin to cool down. Water from leaks will hold onto heat much longer than the rest of your home. Once these spots are identified, a technician will mark them off for the next day. During the daytime, the technician will use a non-penetrating moisture meter on the moist areas. This will tell them where the leak is so they can repair it.
7. Contact a Professional
Once you’ve found a leak, call in a professional roof repair company. Professionals have the experience and tools necessary to quickly and effectively repair your roof leak. They know where leaks are most likely to be found and can correct the problem area to prevent further leaks from springing up.
A roofing company will send someone to inspect your entire roof — they’ll look for the leak and let you know of any other problems that need addressing. You can have your roof restored in no time when you use a reliable, expert company.
8. Catch Any Dripping Water
If you’re dealing with a leak that’s dripping constantly, you should try to catch any water you can to prevent the moisture from damaging anything else inside. After calling a professional about the leak, use buckets or bowls to catch drips coming from the ceiling or beams.
This helps keep the leak contained, so you don’t have to pay for more repairs than necessary. Make sure to check the container and empty it regularly.
How to Prevent Future Roof Leaks
Once you’ve found your roof leak and gotten it repaired, you need to take steps to prevent future leaks from happening. The more water that gets into your home, the more damage it will take on, and the more expensive your repairs will become. Another roof leak is the last thing you want to deal with after getting your roof patched.
Here are some roof maintenance tips to help you prevent leaks from coming back:
Look for Missing Shingles
Shingles can chip or go missing over time, especially after high winds and heavy storms. Shingles work to protect your roof underlayment from water. They overlap, forming a sturdy, waterproof barrier year-round. When one shingle gets lifted up or removed, it can create a gap that lets water start to work its way into the roof. The more shingles missing from your roof, the more exposed your home is to wind, water and weather damage.
Get shingles replaced as soon as you notice they’re missing or damaged — you don’t want to leave any openings for water. Good shingles will last years and will do an excellent job of protecting your home from the elements.
Clear Your Gutters
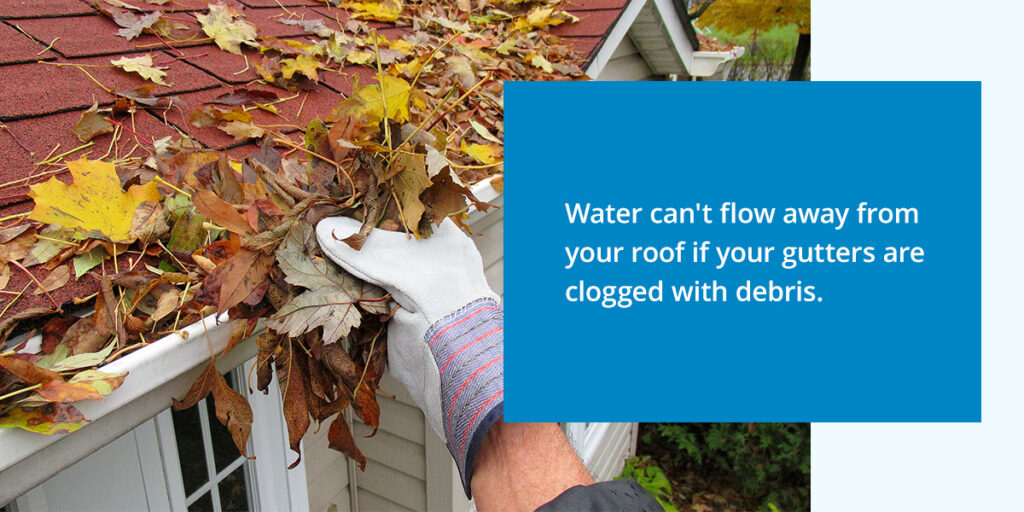
Gutters redirect water away from your roof, allowing it to drain away from your property. Water can’t flow away from your roof if your gutters are clogged with debris. If water gets backed up, it’ll flow onto your roof and begin seeping into the surface. Any existing weak points can quickly let leaks in if there’s nowhere else for the water to go.
Every once in a while, or after a heavy storm, climb a ladder and clear your gutters of any debris.
Check Your Roof’s Drip Edge
The metal flashing along the edges of your roof is called the drip edge. The drip edge has many protective functions that reinforce the durability and waterproofing of your roof. It helps direct water to your gutters, keeping it away from the fascia and preventing rot.
Additionally, a drip edge reinforces your roof line, improving its strength and stability, so it holds up to years of high winds and weathering. Any gaps on the edge are sealed by the drip edge, fortifying your roof against water damage and leaks.
Give your drip edge a quick once-over after harsh weather. Look for water running down behind the gutter or stains from water dripping near the gutter. Fascia rot is a significant indicator that your drip edge isn’t performing correctly and needs inspection.
Trim Branches
Keep branches and bushes trimmed back from your house. Wind, rain and snow can all break off overhanging branches, causing them to land on your roof and cause damage. A loose limb might lead to roof holes or gutter clogs, sending water into your home.
Additionally, branches and bushes scraping against your home will lead to minor damages that could compound into more significant problems over time. Keeping the area above and around your house clear reduces the chances of debris build-up and wear.
Clean Your Roof’s Exterior
Over time, moss and algae might grow on your shingles. While some homeowners like the look of vegetation on their homes, it can actually lead to roof leaks. Vegetation will slowly spread across your roof, lifting up shingles and collecting other debris.
Once plant life gets under your shingles, water will start to seep into the roof underlayment. Eventually, enough shingles will be weakened, and water will seep in. You’ll soon find yourself with a severe roof leak.
To prevent this, get your roof professionally cleaned once a year. This removes any vegetation and debris that could cause clogs and shingle damage.
Schedule Regular Inspections
Regular inspections are critical for protecting your roof from leaks and other issues. While the above roof maintenance is great for keeping your roof in good condition, there’s no substitute for a professional inspection.
A professional roof inspection will cover your roof interior and exterior, inspecting every nook and cranny for potential problems. They’ll identify all your problem areas and recommend the next steps you should take to restore your roof. They’ll let you know if you need a roof replacement or repair and can help walk you through the repair process.
Get Expert Roof Leak Repair With Coldstream Exteriors
Roof leaks can be challenging to find — trust the professionals at Coldstream Exteriors to find and repair your roof leaks. With over 25 years of roofing experience, we’ll provide you with high-quality, durable roofing service for year-round comfort and protection.
At Coldstream Exteriors, we prioritize customers over everything. We offer 0% and low-interest financing, and we never ask for payment until project completion, so you can get top-tier roofing services at affordable rates. With only the highest-quality roofing materials and lifetime warranties, you can enjoy a durable, lasting roof when you work with us.
If you’re looking for premium roofing services in the greater Cincinnati or St. Louis areas, contact Coldstream Exteriors. Schedule your free inspection and get started on your next roofing experience today!
