The Role of Water and Ice Barriers in Roofing
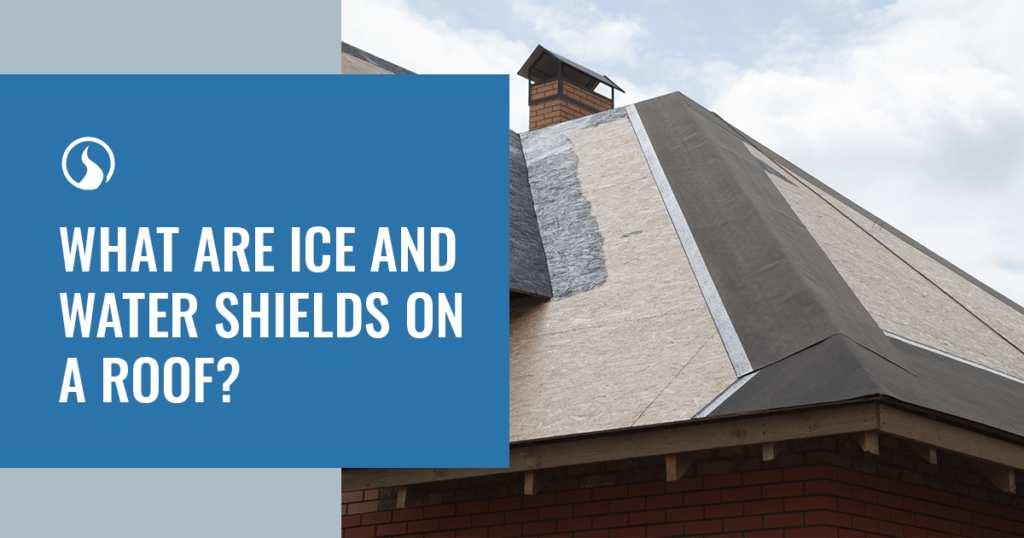
When your top roof layer fails to keep out the snow and water, what’s protecting your roof? Roof ice and water shield are vital to maintaining the strength and protection of your roof. Water loves to find its way into cracks, so a waterproof layer is necessary for stopping rot and mold in your roof. Waterproofing shield adds another barrier against the elements, ensuring your roof stands up to anything nature throws at it.
Understanding the best ways to protect your roof will help you keep your home secure and water-free. Below, we’ll explore ice and water shield and look at how they keep your roof dry during storms and snow.
What Is Ice and Water Shield?
An ice and water shield is a thin, waterproof membrane designed to protect your roof from ice and water damage. Without proper protection, your roof becomes susceptible to water and ice damage, leading to rotting and mold.
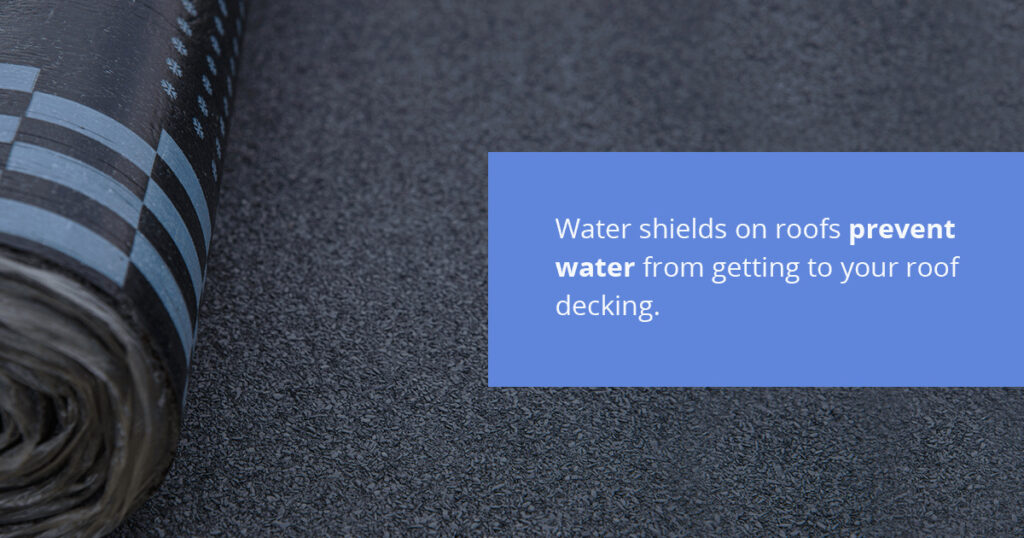
Since water getting under your roof exterior can cause problems for your home, water shield on roofs prevent water from getting to your roof decking. Some areas even require ice and water shield to ensure homeowners’ roofs are secure.
How Do Roof Ice and Water Shield Work?
An ice shield is a roof underlayment. It fully adheres to the roof under the top layer of roof material, acting as a permanent water barrier. It lays over the roof decking and drip edge — a type of metal flashing — so water runs off the roof. This means your shield won’t blow away or shift around due to pressure from water or snow. Barriers on top of roofs can become susceptible to movement and removal over periods of harsh weather or extended exposure.
The membrane is also self-repairing to an extent. When shingles are nailed onto the shield, the membrane will re-absorb around the nails. This gives you premium leak protection even when roof repairs need to be made. The repairing membrane combined with the underlayment means your roof has the best-possible line of defense against water damage, keeping you from having to make costly roof repairs due to water issues.
What Is an Ice and Water Shield Made Of?
There are a few materials used to make ice and water shield. Whatever the material is, the barriers are a self-adhering layer of waterproofing materials.
A popular type of ice and water shield is a rubberized asphalt barrier that prevents water penetration and securely sticks to the roof decking without needing additional attachments. The other material category is a type of mat made from polypropylene, fiberglass, polyethylene and polyester. These are incredibly efficient at preventing water and ice penetration and hold up well against weather.
The type of barrier you’ll get will depend on your roofing company, so talk to your roofer about the available ice and water shield material options.
Types of Ice and Water Shield
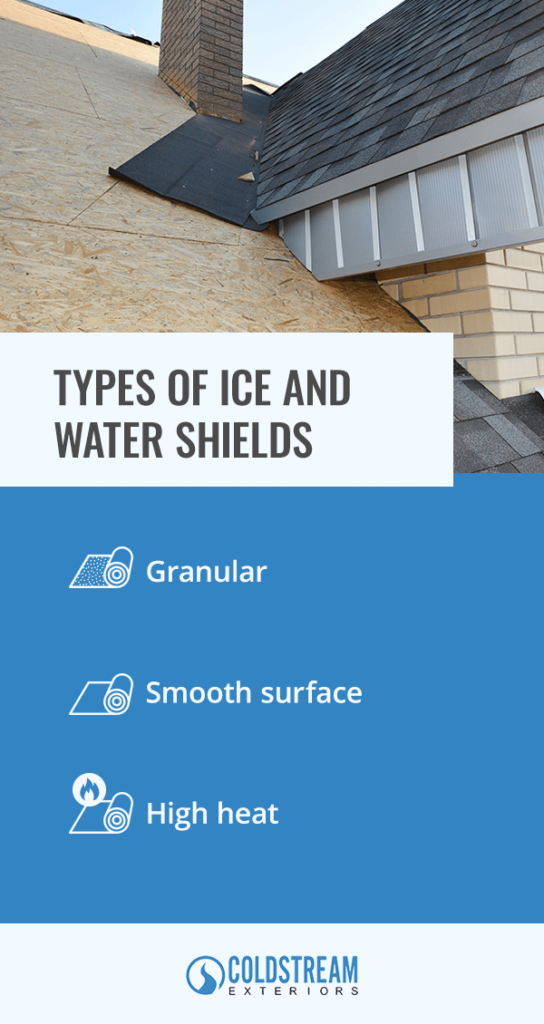
There are three types of ice and water shield that are typically used for residential roofs. The best option for your roof will depend on your roof type and the weather conditions in your area. All three types help prevent water from getting into your roof, but some are better equipped to handle different slopes and climate conditions than others:
Granular: Granular or sand surface ice shield are installed in roof valleys. They’re the thinnest of all the barriers but still perform effectively against water.
Smooth surface: Smooth surface barriers are designed for low-slope roofs. Roofs with low pitches need extra protection from water since they’re often prone to poor drainage.
High heat: High heat shield are primarily used on metal roofs. The cotton-like fibers of these barriers help prevent the shield from sticking to the metal as it contracts and expands with changing temperatures.
Different styles of water barriers will work better depending on your home and location. If you’re unsure about the best option for your house, speak with your roofing contractor. They’ll have different types of membranes to offer and can inform you of the right one for your home’s design.
Why Do You Need Ice and Water Shield?
While shingles provide a solid defense against water and ice, they can crack, bend and fall off over time. Pressure from elements, time and even vegetation can create weaknesses in a shingles-only barrier. If you don’t have an ice and water shield, these are some of the situations that can cause trouble for your roof:
Storms
Tornadoes, hurricanes and severe storms come with wind-driven rain, pushing water between and under your home’s shingles. Strong winds can also lift and remove shingles, allowing even greater access for the water to get inside. Without an underlayer of protection, your roof is defenseless against the water from these weather conditions.
Snow and Ice Barrier
During the winter, snow will accumulate on your roof. When a sunny day comes along, the snow melts and flows down to your gutters. If the temperature drops before all of the snow runs off, it can lead to a buildup of re-frozen snow and ice along the edges of your roof. This ice takes longer than snow to melt, so as more snow melts and tries to run off, it gets pushed back by the ice dam. The water then seeps back under your shingles and into your roof crevices.
No matter the outside conditions, a water shield will withstand harsh weathering and elements. The barrier adheres directly to the roof decking — no nails or staples involved. This means it doesn’t have individual weak spots or sections like shingles. Instead of water leaking into your roof, the shield guides downward toward your gutters and away from your home.
How to Install Ice and Water Shield
You typically only need to install the barrier on roof sections that are particularly vulnerable to water leaks. In fact, installing an ice shield over the entire roof will prevent the roof from breathing correctly. The complete seal of a shield will lead to a vapor barrier forming — vapor barriers create condensation, which will inflict water damage on your roof.
However, you can install ice and water shield over your entire roof if you make sure to have a ventilation system in your attic. This will help prevent condensation but will add to your installation expenses. Total ice barrier coverage can help you if your house experiences frequent high winds, but it needs a way to prevent the vapor barrier formation.
Overall, you should install ice and water shield at roof points where water is most likely to get under the roof shingles and other top-layer materials, such as:
Around all pipes before flashing is installed
Along chimneys, walls or skylights where you’ll install flashing
In every valley
On the eaves of your home if you live in a climate that sees lots of snow
Can You Install An Ice and Water Shield Over an Old Roof?
The answer is no, as ice and water shield are meant to sit under your top roof layer. Installing them over old shingles will only reduce their effectiveness and make your new roof layer look less even and appealing. Ice and water shield installation should sit under your shingles, so old shingles will need to be removed to allow for barrier installation.
Sometimes, roofing companies will attempt to install this barrier over old shingles, which wastes materials and makes the barrier less effective. A poorly-installed membrane will allow water to get into your roof, causing extensive issues. That’s why you must select a reputable roofing company for your roof replacement and installation.
An experienced roofing company will remove the old shingles before placing the water barrier, securing the roof from moisture. Then, they’ll install new shingles to improve your roof’s look and durability.
How Do You Know if Your Roof Has an Ice and Water Shield?
No one wants to rip up their roof just to check for a water barrier, so how do you know it’s there? You should be able to see the barrier peeking out from near the drip edge of your roof. If you don’t see an ice barrier, you should call a roofing company for an inspection. Without the shield, you might have water damage to your roof.
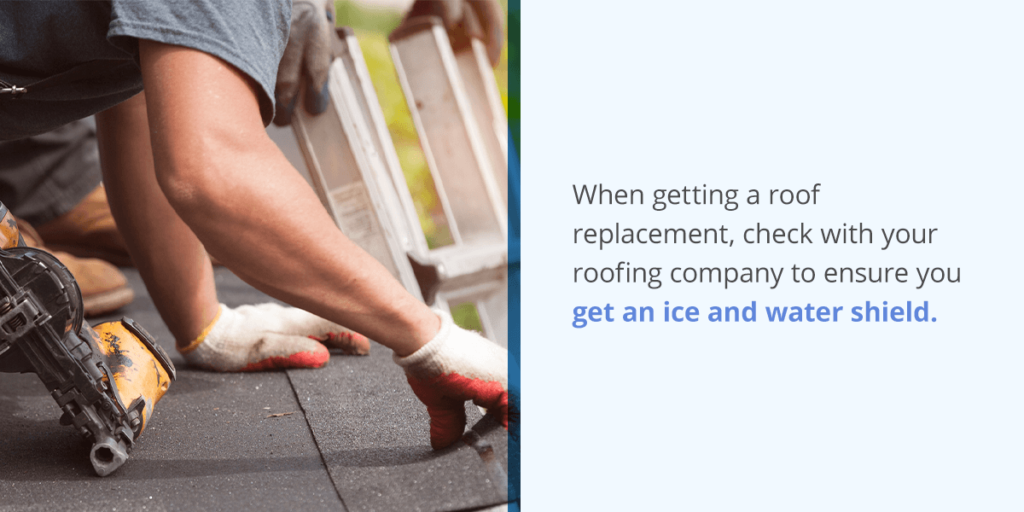
If you have severe water damage on your roof structure, you need a roof repair or replacement. When getting a roof replacement, check with your roofing company to ensure you get an ice and water shield. You don’t want to invest in a new roof and then have to replace it in a few years because it didn’t have proper water protection.
How Long Does Ice and Water Shield Last?
The exact amount of time your ice and water shield lasts will depend on a variety of factors. The budget, material and exposure will influence when your barrier needs replacing.
Ice and water shield can sit on your roof’s decking for the duration of the roof’s lifetime if they aren’t exposed to the sun. Both heat and ultraviolet (UV) rays can affect the membrane with enough time, compromising its waterproofing ability. Many ice and water shield are only rated for 30 days of sun exposure, though some barriers are suitable for 90, 120 and 180 days of exposure.
You don’t necessarily need to pay more for a shield with a longer exposure time. Typically, any exposed spots on your roof should be fixed within a month or two if you want to limit the amount of damage to your roof. Exposure times beyond this are great for projects that require roof exposure beyond a month, but most homeowners won’t need that level of exposure resistance. Ask your roofer about exposure times and finding the right barrier for your home.
How To Prevent Ice and Water Shield Problems
Regardless of the exposure time on your ice and water shield, there are steps you can take to get the most use out of it. Good roof maintenance is the key to extending the life out of your water barrier. The longer your shield sits under the sun’s rays, the less-effective it becomes. Keep your roof in good condition to ensure the barrier stays protected.
To protect the ice and water shield and keep your roof in top condition, you should regularly inspect your roof for issues. Also, check it after severe storms — wind and branches can pry up or remove shingles. Examine the roof for any missing, cracked or broken shingles, as these spots can lead to holes that expose the membrane. Inspect the attic for water spots and find out where the leaks are getting in — you might need a patch or membrane replacement.
Further, keep all trees trimmed back away from the roof. Branches can fall off as the tree ages or during storms, breaking off large groups of shingles or putting an entire hole in your roof. If you notice ice dams forming regularly, there could be a problem with your barrier that needs examining.
When inspecting the roof, if you see any problems that may compromise your roof’s protection or structure, you should contact a roofing company for repairs immediately. Any unfixed damages can lead to further harm to the roof. The longer problems sit, the more expensive repairs will be, so reach out as soon as possible for assistance.
Get New Roofing With Coldstream Exteriors
Installing a new roof is a huge investment, so should get the best protection possible. A high-quality ice and water shield will help keep water from damaging your roof, saving you from paying for costly repairs.
At Coldstream Exteriors, we install only the best roofing materials and protections. Our team is experienced in working with a variety of roof types to give you the best roof installation at an affordable rate. We also offer same-day or next-day repair services for most roofing problems so you can deal with emergency roof repair issues in Cincinnati and St. Louis fast.
We’re Top Rated by Home Advisor and A+ rated by the Better Business Bureau. If you’re in the greater Tampa, St. Louis or Cincinnati areas, choose our superior quality and customer service for your roof installation and repair. Don’t wait to get your roof looked at — schedule a free inspection and talk to our team today!
